I'm upping my tube patching game.
Currently, we place a patch over the hole and draw a circle around the patch with a pen. Then we put cement on the patch, then put cement in the area inside the circle on the tube, let both sit for a few minutes, then apply the patch to the circle on the tube, and rub it down.
I've been putting bricks on the patch for a bit to get a good seal, then inflate the tube, check for leaks, and put it back into service.
After some extensive research, I believe this is the wrong approach. Often the patch will reduce as the tube inflates, leaving exposed glue and the circle line. They work, just not pretty.
Here's what the experts say:
Partially deflate your float tube, leaving just enough air inside so that the inner walls don’t touch. Applying adhesive to a totally deflated tube risks having the glue drip inside, causing the inner walls to stick together.
Then apply adhesive to the air leak, and then to the patch. Wait five minutes for the adhesive to become tacky, and then apply a second coat to the patch only. Stick the patch directly over the air leak and press down with the palm of your hand to get rid of bubbles underneath the patch.
Do not take your float tube out right after the patch job. Wait at least 24 hours for the adhesive to cure before you try to inflate it again.
This makes sense, after 24 hours the patch has bonded to the tube as if it was part of it, and expands out normally.
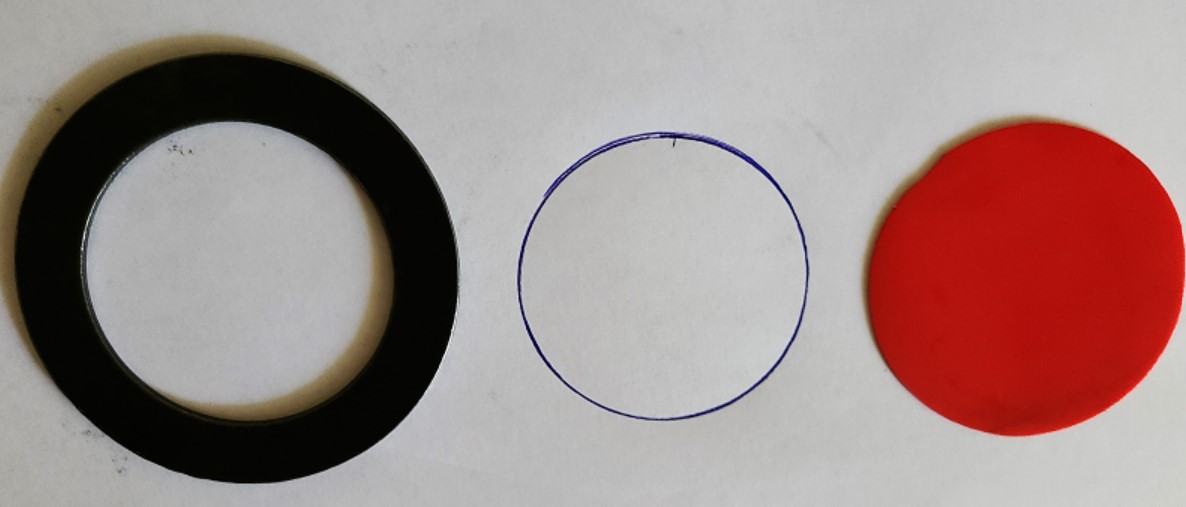
This morning I drove out to the tractor store north of town, handed them a patch, and asked for a washer that would match that inner diameter. The best they could do was a tad smaller, but that makes it perfect.
So now, I'll just place the washer over the tear, use a pencil to draw the line, which will now be inside the patch and not visible, and since it's a washer, not a patch, I can center everything perfectly!
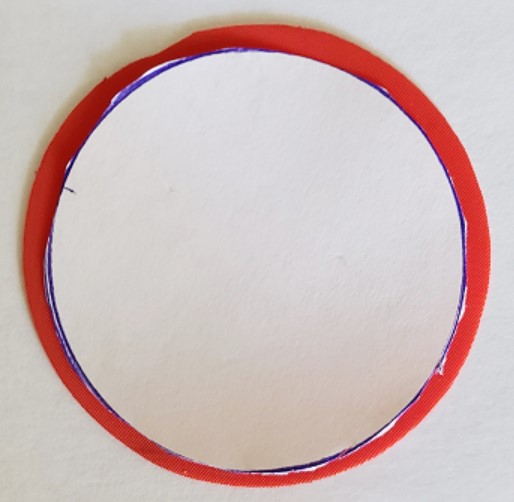
As I apply the cement I'll make sure it gets over the line perhaps 1/8 of an inch.
I really do think this approach is going to a game changer. The first thing I'll do when I come in the next morning is inflate the previous days tubes, and get them going. Then I'll just start stacking up newly patched tubes for the next day.
As a reference to this overlap for future patchers, I will draw the outline on this red patch, cut it to size, then center it and glue it on to a blue patch. Right now it's just a paper mockup.
I'm really liking this, it's a new critical tool in our arsenal, that shold lead to more professional patching.
One final thought. The texture of the patch on each side is different. One side matches the texture of the tube, while the other side is smoother. I believe this is intentional and by putting the cement on the smooth side, the upside blends right in.

